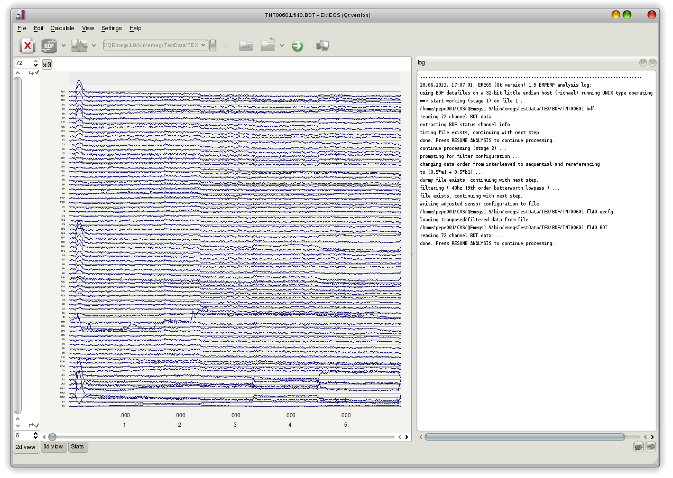

The second analysis step involves rereferencing, transposing and filtering of the raw data file. Physiological data is nearly always saved to disk in a channel-by-samplepoint order by the measuring device. For filtering and other processing steps however, it is much more useful to have the data in a samplepoint-by-channel order, that is all values of on channel first, then all values of the next channel and so on, therefore the data is always reordered (or transposed) first and - in order to keep the following steps independant of the original dataformat - transformed to the EGI data format. The resulting files have the file name extension *.TAW .
While rearranging the data, EMEGS can also rereference the
channels. BDF files for instance always need to be rereferenced
first, to get a better signal quality. But this step can also be
used to transform the data from a single mastoid reference to an
average mastoids reference.
To do this, you need to adjust your sensor configuration file by adding reference weights in the "RefWeight" column.
The case shown below is for rereferencing a BDF file to an
average-mastoids-reference (from the Biosemi CMS recording
reference). Note the "RefWeight" column, which contains positive
non-zero weights for the mastoid sensors (A1 and B1) and zero for
all others.
If all sensors have zero weights, no rereferencing is performed.
Type Name
InRawFile
RefWeight Occular
Theta
Phi Rho
EEG Fp1 Yes
0
No
-1.6057 -1.25664
0.09
EEG AF7
Yes
0
No
-1.6057 -0.942478 0.09
EEG AF3
Yes
0
No
-1.29154 -1.13446 0.09
EEG F1
Yes
0
No
-0.872665 -1.18682 0.09
... ...
...
...
...
...
... ...
PLEASE NOTE: Do not use this mechanism to transform the data to an average reference. EMEGS can do this automatically in a much more convenient way, excluding corrupted sensors from the average!!!
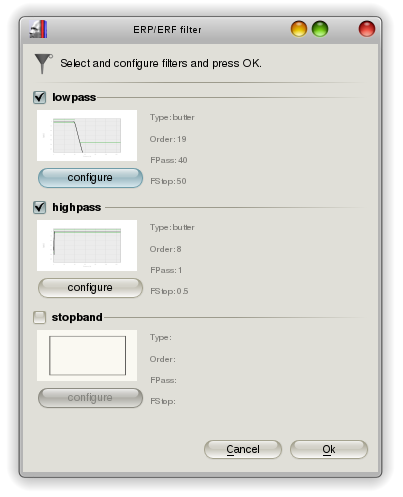
Filters (lowpass, highpass and stopband) are activated and
configured on the filter dialog, that is shown before transposing,
rereferencing and filtering is started. Activate the filters you
need, push the configure-buttons to adjust the cutoff-frequencies
and filter orders, and press OK.

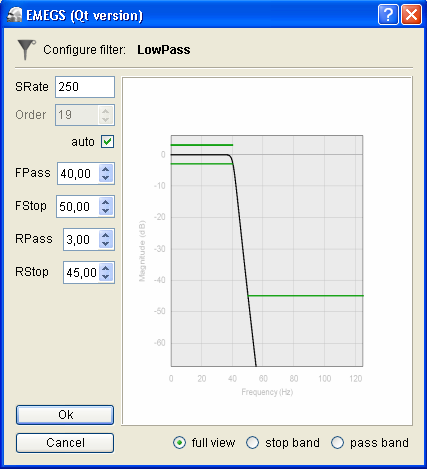
After the first activation of a filter, a configuration dialog is
shown automatically (which can be reopened later on using the
"configure" button) to configure filter details:


In your data folder, some new files have appeared: an empty
(dummy) file for the rereferenced and transposed data file, the
filtered, rereferenced and transposed data file, and an individual
sensor configuration file. The dummy file is needed to allow EMEGS
to skip the transposing later on, if the
"skip-step-if-file-exists"-option is activated. The individual
sensor configuration contains the possibly reduced set of channels
in the transposed data file.
The filtered file is named according to your filter selection,
e.g. fl40 denotes a 40Hz lowpass filter, fh1
denotes a 1Hz highpass filter etc.
